WinSMS Desktop Client – How To Import Contacts From Excel
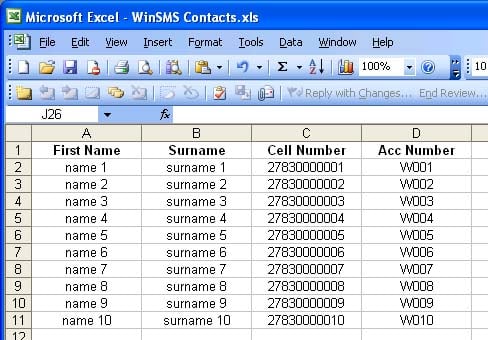
Open the Excel spreadsheet that contains your contacts and do the following to clean your list:
- Check that all the contacts have valid cell numbers.
- Delete any contacts that don't have cell numbers.
- Remove any empty rows.
- Remove all commas (,) from the spreadsheet.
Note that if the above guidelines are not followed, you will probably encounter errors when trying to import.
In the above example, the “Acc Number” field is an optional field which can be imported into a custom field in WinSMS. To set up custom fields in WinSMS, go to File > Preferences > Contact Additional Info.
Save As CSV file:
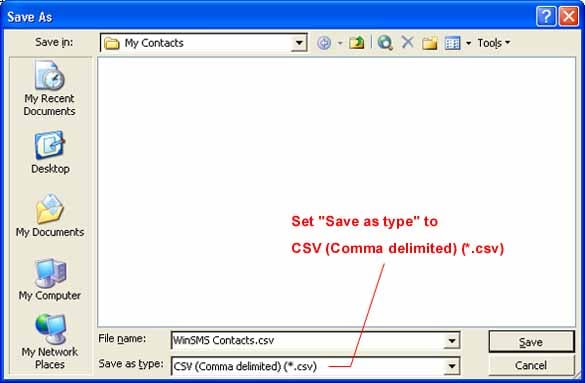
Now you must save your spreadsheet as a CSV (Comma delimited) (*.csv) file before you can import your contacts into WinSMS.
Click on File and select “Save As”, the following window will prompt you for a file name – you must also set the file type to CSV.
Remember to take note of the “Save in:” location where you are saving your file.
When you click on the “Save” button, the following dialog box will prompt you, click on “Yes”.
The last step before importing into WinSMS is to close the CSV file, otherwise WinSMS will be unable to open it for importing.
When you close the file or close Excel, the following prompt will appear, select “No”.
Importing Contacts into WinSMS:
Open WinSMS – click on “File” then “Import…”
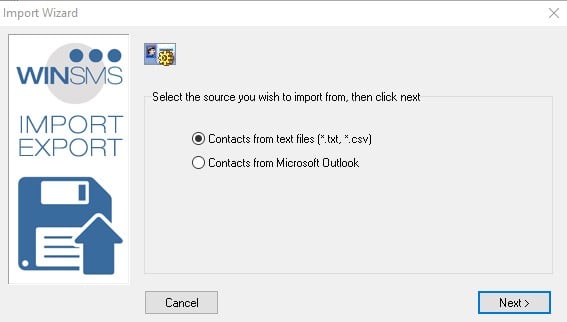
Choose “Contacts from text files” and click on Next.
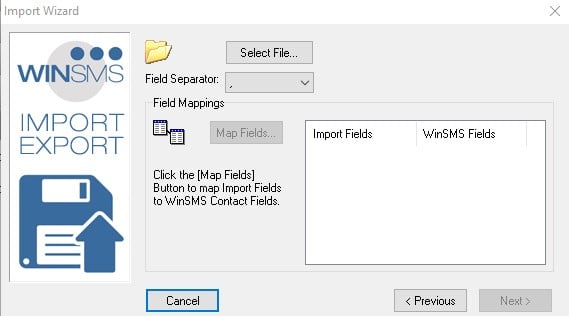
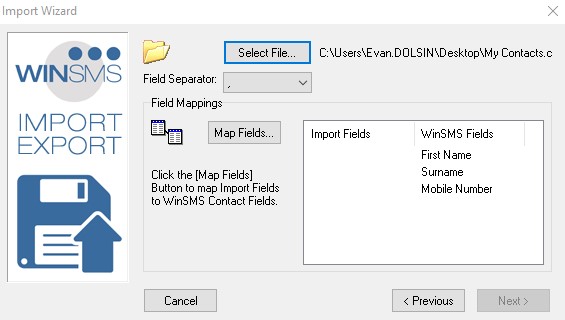
Click on “Select File…” – choose the CSV file and click on “Open”.
The following will now be displayed:
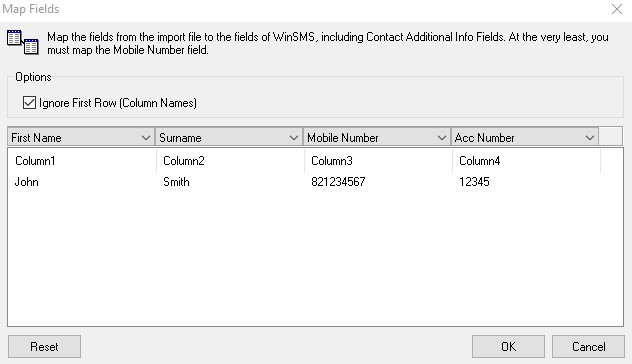
Click on “Map Fields…”
Because your file had column headings, select “Ignore First Row (Column Names)”.
Above each column select the corresponding WinSMS fields.
Note that the “Acc Number” field is an additional field that can be created by going to File > Preferences > Contact Additional Info.
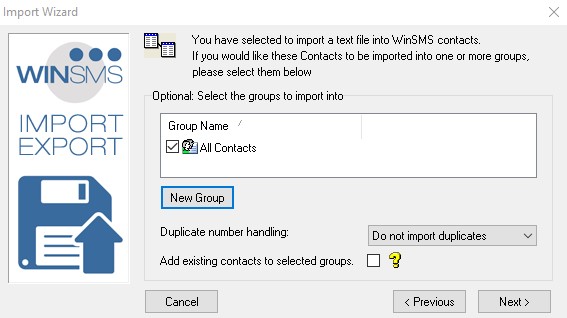
Once you have matched the fields click on OK then Next.
At this stage, if you want the imported contacts to belong to a group, you can either select an existing group or create a new group. Once you are done click on Next.
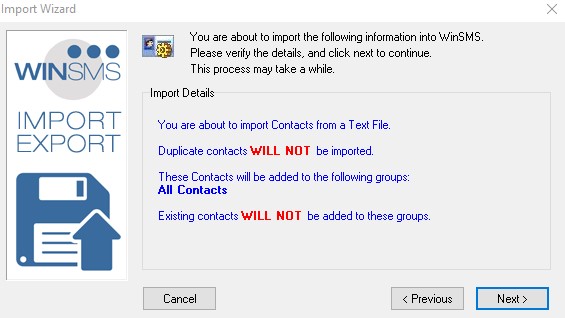
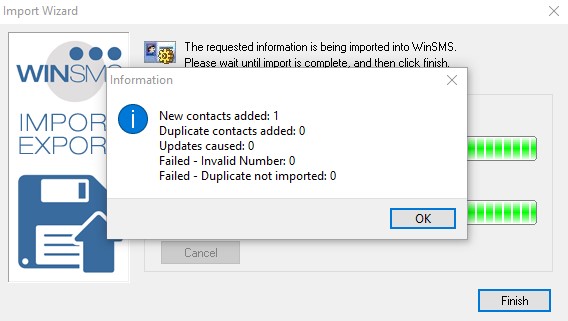
Click on Next to import the contacts.
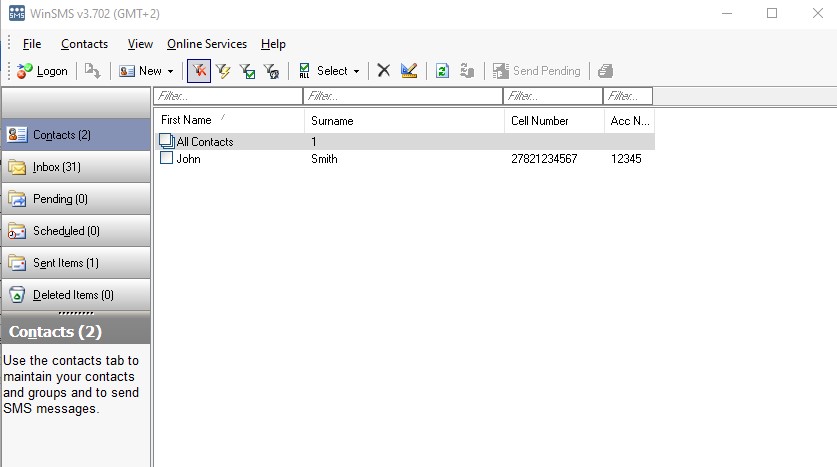
Once the import process is finished, click on Finish.

